SADDLE BAG SPARES
With the weather finally starting to get a little nicer, many of us will be venturing outside in the coming weeks. If you’re planning a long ride, or even a few short rides; it’s always a good idea to take a few items with you. But what should you take and how should you carry them?
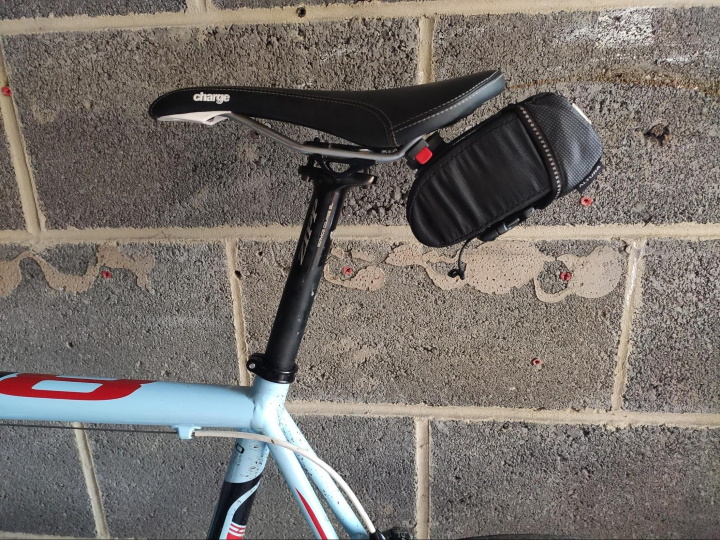
SADDLE BAG OR JERSEY POCKET?
This really comes down to personal preference and the length of the ride you’re planning. A medium sized saddle bag will allow you to comfortably carry a lot more than you can stuff into your jersey pockets. And carrying the larger, more cumbersome items in a saddle bag frees up your jersey pockets for things that you want easy access to. Such as food, your mobile phone and sunglasses.
Of course, there’s also the style element to consider - especially if you’ve spent a fair bit on your bike, do you really want a saddle bag hanging off the back of your pride & joy? This may have been a stronger argument in days gone by, but now with brands such a Fizik and Scicon releasing compact bags that fit in with the sleek lines of your bike, while still being able to store an adequate amount of spares, you may not have to compromise on the looks in order to make sure you’re fully prepared for most eventualities.
WHICH ITEMS TO PACK?

Certain items will be more important than others, depending on which bike you’re riding, where you plan on riding and even how far you plan on riding. For this article, we’ll mostly be focusing on a regular Road Bike ride in the region of 60 miles. Most of the items mentioned will be applicable for the majority of rides and distances, the shorter the ride, more often the less you should need. Although, it’s definitely possible to double puncture on a short ride as well as during really long rides!
Inner Tube/Tubeless Repair Kit - The kind of tyre/wheel combination you have will decide for you which of these you will need. For regular road bike tyres, with standard inner tubes, it’s advisable to have at least one spare inner tube and a small patch kit and a tyre lever(s). On most rides, I take 2 inner tubes and a patch kit with enough patches to repair two more tubes. The slight weight and space hit is ok with me, for the peace of mind of being able to repair the dreaded multiple flat. For tubeless tyres, you can normally get away with letting the sealant do its job, by filling and repairing small potential punctures. For the larger puncture that the sealant might struggle with, you can always use a tyre plug to seal the cut. For really bad punctures, its possible to remove the tubeless tyre and fit an inner tube in to get you home. But be prepared for a potentially messy and difficult time getting the tyre off and the inner tube in.
Inflation - You’ll also need some method of inflating your tyres after getting a puncture. This is more important for regular tyres with inner tubes, but also occasionally needed for tubeless too. I personally use the Genuine innovations Air Chuck CO2 Inflator, it’s super small and really easy to use. They are of course many other sizes and types of CO2 inflators, but you also need to remember to take CO2 cartridges with you. I prefer the 16g ones, due to them being slightly smaller and still providing enough air to fill a 700x25 road bike tyre. Small hand pumps are also an option, they don’t require any cartridges and can be used as many times as you need. They do take a lot longer and more effort than a CO2 inflator, and the majority of hand pumps take up more space than an inflator and cartridges.

Mini Chain Tool - This is something that I never packed for rides until after I needed it once, now I’ve always got the Park Mini Chain Tool with me on any ride I go on. One broken chain out in the middle of nowhere, with no way of fixing it, was enough to make this tool a permanent fixture in my saddle bag. If you’ve got a quick link and a chain tool in your saddle bag, you’ll be able to fix the majority of chain breakages. A broken chain is a very rare occurrence these days, but I find it better to be prepared for one than not.
MISCELLANEOUS ITEMS
Although not necessary, I often have one or two Allen Keys in my saddle bag. A loose bolt can cause creaking or slippage that can sometimes ruin an enjoyable ride. And if you’ve recently changed bike, being able to slightly adjust your fit while out riding is much better than trying to adjust it while clamped onto the indoor trainer.
Also, make sure to pack a hand wipe to clean your hands after replacing an inner tube or fixing your chain. The small, single use, lemon wipes you often get at restaurants are perfect for this.
Money is another thing that is always good to have, a £10 note left in my saddle bag rarely gets used, but it's good to know it’s there if it’s ever needed.
HOW TO PACK

Everyone has their own way of doing things, and packing your saddle bag or even choosing to not use one, is a personal preference. For short rides, I use an old Philips Electric Shaver carry case. It's the perfect size for 2 CO2 cartridges, the CO2 Inflator head, a spare chain link, a £10 note, a lemon hand wipe, an inner tube patch kit and a Park Tool Tyre Lever. I try to keep most of the items in individual plastic bags to stop any moisture getting in during wet rides, it also helps to protect innertubes from accidental cuts when tightly packing the bag. This zips up and goes in my right jersey pocket with one or two innertubes in my left pocket and my phone in the middle pocket.
For longer rides, i Leave the two inner tubes out of my jersey pocket, but keep the shaver carry case and also take a saddle bag with the chain tool, two extra inner tubes and CO2 cartridges. It’s taken me a few different approaches to get to something I’m happy with, and writing this down has made me consider possibly trying a different way of carrying things while on the bike. So try a few ways out yourself, until you’re satisfied with the items you have and how you’re carrying them.
